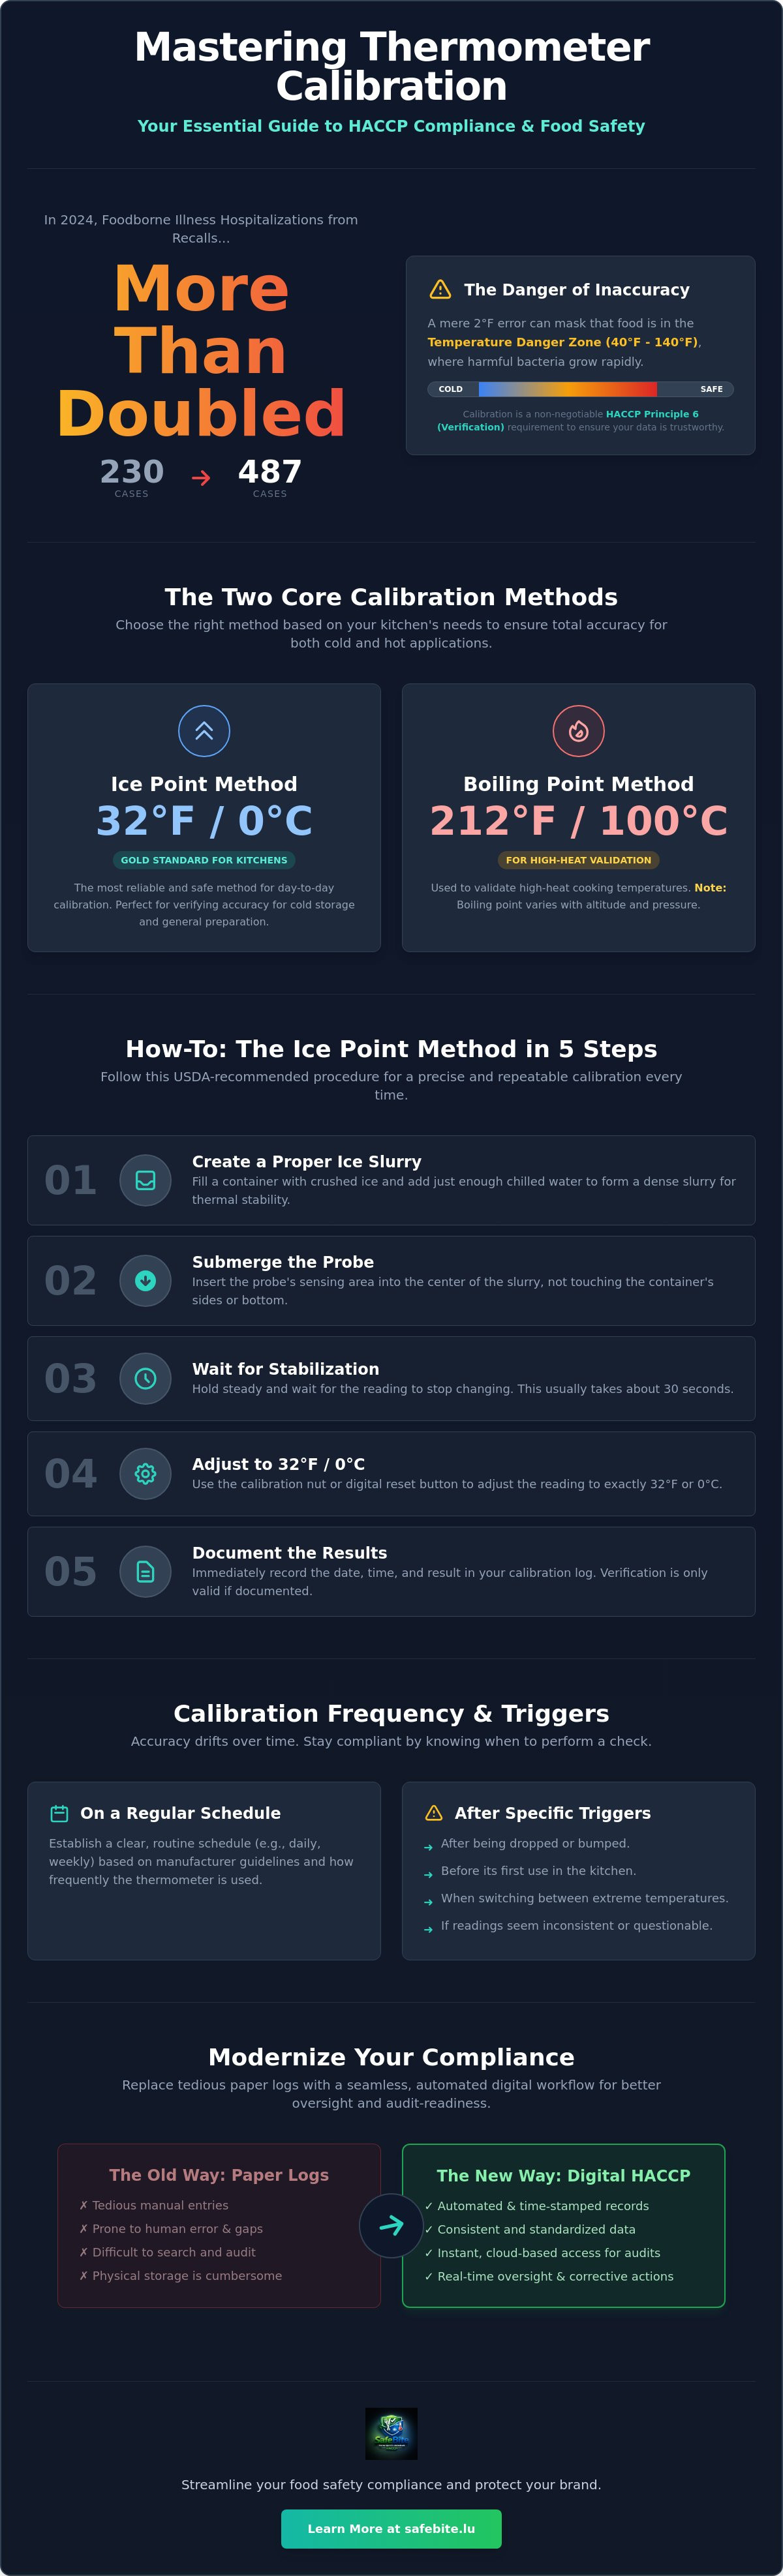
In 2024, foodborne illness hospitalizations linked to recalls more than doubled, increasing from 230 to 487 cases. This sharp rise highlights a critical reality for every commercial operator: your safety protocols are only as reliable as the tools used to verify them. Mastering how to calibrate a food thermometer is no longer just a routine chore. It's a fundamental safeguard against the devastating impact of a failed inspection or a public health crisis.
You've likely felt the frustration of inconsistent readings or the dread of manual logging during a high-volume shift. It's exhausting to manage paper trails while worrying if your equipment is truly accurate to the required ± 1°F. This guide will help you master precise calibration methods to ensure total HACCP compliance and absolute food safety in your kitchen. We'll explore the 2026 standards, step-by-step ice point and boiling point procedures, and how digital integration can transform your verification workflow into a seamless, automated process.
Key Takeaways
- Understand why precise calibration is a critical verification step for maintaining HACCP compliance and protecting your brand's reputation.
- Master the ice point method to learn how to calibrate a food thermometer with the precision required for cold storage and preparation.
- Identify when to use the boiling point method to validate high-heat cooking temperatures and ensure your critical limits are consistently met.
- Establish a clear calibration frequency and recognize the specific operational triggers that demand an immediate accuracy check.
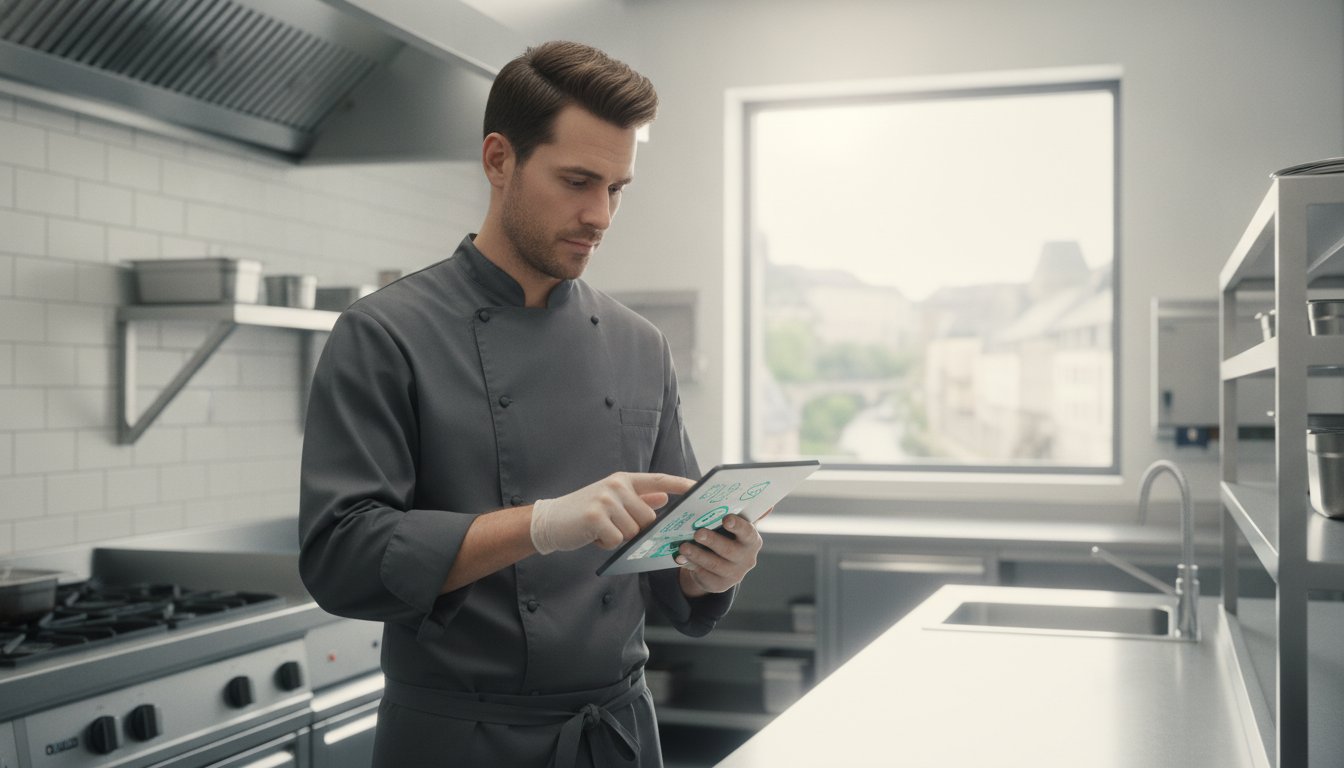
- Learn how digital HACCP checklists can replace tedious manual logging and automate your equipment verification workflow for better oversight.
Why Thermometer Calibration is a Non-Negotiable HACCP Requirement
Calibration is the technical process of verifying a thermometer's accuracy against a known standard. It ensures that the device provides a reading that matches the actual temperature of the food or environment being measured. This process relies on the scientific principles of thermometer calibration, which often use the physical properties of water at specific states to establish a baseline. In a fast-paced kitchen, even the most expensive digital probes can drift over time due to frequent use or accidental drops.
Within a professional kitchen, calibration is a critical component of validating cooking temperatures and times. If your thermometer is off by just a few degrees, your Critical Control Points (CCPs) are essentially compromised. You might believe a chicken breast has reached the required 165°F when it's actually at 162°F. This gap represents a significant safety failure. Understanding how to calibrate a food thermometer correctly prevents these "false positives" that lead to both foodborne illness risks and unnecessary food waste.
Inaccurate equipment doesn't just risk safety; it drains your bottom line. If a thermometer reads higher than the actual temperature, you might pull products from storage prematurely, assuming they've hit the danger zone. Conversely, overcooking food because a thermometer reads too low results in poor product quality and increased shrinkage. Precision is the only way to balance safety with operational efficiency.
Calibration as a Verification Procedure
In the framework of the seven HACCP principles, calibration sits firmly within Principle 6: Verification. While monitoring involves taking the temperature, verification ensures that the monitoring tools are working correctly. Health inspectors prioritize calibration logs during audits because they provide evidence that your data is trustworthy. It's a common mistake to assume "factory calibrated" means "permanently accurate." Field verification is a mandatory practice to account for the daily wear and tear of a high-volume kitchen environment.
The Risks of Neglecting Equipment Accuracy
For food businesses in Luxembourg, non-compliance with hygiene regulations can lead to heavy fines or forced closures. The technical margin for error is slim. Bacterial pathogens grow most rapidly in the temperature danger zone, which the FDA defines as 40°F to 140°F. A mere 2-degree calibration error can mask the fact that a product has spent too long in this hazardous range. Proactive equipment maintenance isn't just about passing an audit. It's about protecting your brand's reputation from a single, preventable outbreak. Learning how to calibrate a food thermometer is the first line of defense in a modern food safety strategy.
The Ice Point Method: The Gold Standard for Kitchen Accuracy
The ice point method is widely considered the most reliable way to verify accuracy in a commercial environment. It's safer for staff than handling boiling water and provides a stable, repeatable reference point. When you understand how to calibrate a food thermometer using this technique, you eliminate the variables associated with atmospheric pressure changes that often complicate other methods. Following USDA thermometer safety guidelines ensures your facility maintains the required accuracy threshold of ± 1°C or ± 1°F.
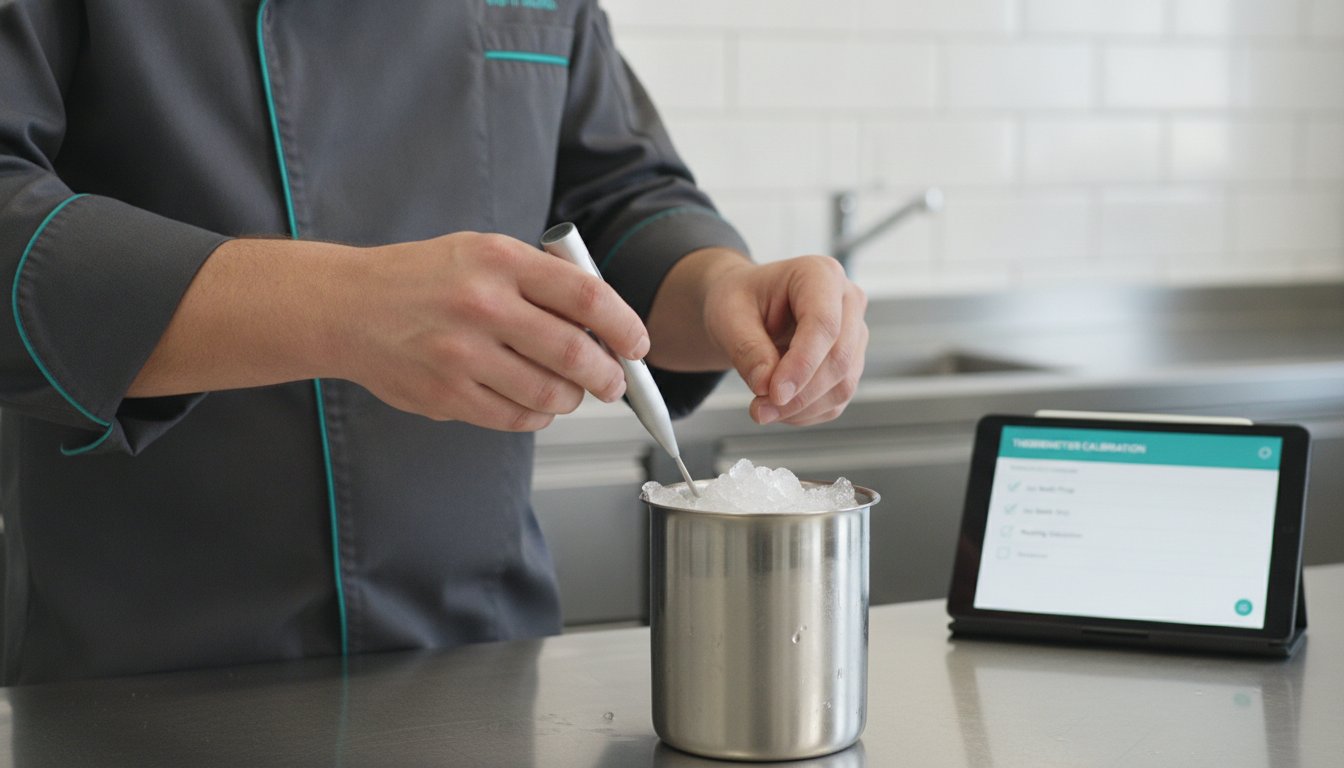
Executing this method correctly requires a disciplined approach to ensure the environment remains at a true 0°C. Follow these five steps for a professional result:
- Step 1: Create a proper ice slurry using crushed ice and chilled water. The consistency is vital for thermal stability.
- Step 2: Submerge the probe into the center of the slurry. Ensure the sensing area is fully covered without touching the sides or bottom of the container.
- Step 3: Wait for the dial or digital display to stabilize. This usually takes about 30 seconds of immersion.
- Step 4: Adjust the calibration nut on a dial thermometer or use the digital reset function to reach exactly 0°C.
- Step 5: Document the results immediately in your safety log. Verification only counts if it's documented.
Using digital HACCP checklists can streamline this final step by ensuring all calibration data is time-stamped and instantly accessible for audits.
Achieving the Perfect Ice Slurry
Precision begins with the slurry itself. Crushed ice is superior to cubes because it eliminates large air pockets, creating a more uniform temperature environment. Your container should be packed tightly with ice, with just enough chilled water added to fill the gaps between the pieces. A common mistake is using a cup of water with a few floating cubes. This creates temperature gradients that will result in an inaccurate calibration. The mixture should be thick enough that the thermometer probe stays upright when inserted.
Adjusting Different Thermometer Types
The adjustment process varies significantly between equipment styles. For traditional dial thermometers, you must hold the calibration nut firmly with a small wrench while rotating the head until the pointer hits the 0°C mark. Modern digital probes often feature a 'CAL' button or a settings menu to apply an offset. If your device has no adjustment feature, it doesn't mean it's useless. You must simply note the variance (e.g., +1°C) on the device and account for it during every reading. However, if the drift exceeds 2°C, the device should be replaced to maintain safety standards. Learning how to calibrate a food thermometer properly includes knowing when a tool has reached the end of its service life.
The Boiling Point Method: When and How to Use It
The boiling point method serves as a critical verification for thermometers dedicated to high-temperature monitoring. While the ice point method handles the cold end of the spectrum, understanding how to calibrate a food thermometer using boiling water ensures your equipment is accurate during intensive cooking processes like deep-frying or large-batch boiling. This method is particularly useful for verifying that your device can correctly read the 100°C (212°F) benchmark. This is vital for preventing undercooked products in high-volume production where critical limits are near the boiling point.
According to the USDA guide to food thermometers, accuracy at these higher ranges is just as important as at the freezing point. However, this technique requires a higher level of caution and environmental awareness than the ice slurry approach. It's a specialized check that complements your standard routine.
Step-by-Step Boiling Point Procedure
To begin, fill a deep pot with clean water and bring it to a vigorous, rolling boil. Using a deep container is necessary to ensure the thermometer probe can be submerged at least five centimeters without touching the bottom or sides of the vessel. Once the water reaches a steady state, carefully insert the probe. Touching the metal of the pot will result in a conduction error, giving you a false reading of the water temperature.
Hold the device in the center of the boiling water for at least 30 seconds or until the reading stabilizes. If the display does not read 100°C (212°F), you must adjust the device. For manual dial thermometers, use a wrench to turn the calibration nut until the needle aligns with the correct mark. For digital models, enter the calibration mode to set the offset. Always keep the heat source active during the test to maintain a consistent 100°C environment.
Limitations and Safety Considerations
Safety is the primary concern with this method. Steam burns can occur instantly. Staff should wear heat-resistant gloves and use tongs if the thermometer probe is short. It's also important to remember the altitude factor. Water boils at a lower temperature as elevation increases. For every 150 meters of elevation, the boiling point drops by approximately 0.5°C. This means a kitchen in a mountainous region will have a different benchmark than one at sea level.
Precision in how to calibrate a food thermometer requires checking local altitude charts to determine your specific boiling point. Finally, never plunge a hot thermometer directly into cold water or a sanitizer bucket immediately after testing. Allow the probe to air-cool to room temperature first. This prevents thermal shock. Rapid temperature changes can damage the sensitive internal sensors of modern digital equipment, leading to the very inaccuracies you're trying to prevent.
Calibration Frequency and Troubleshooting
Establishing a rigid schedule for equipment verification is the only way to move from reactive fire-fighting to proactive safety management. While some smaller operations might aim for weekly checks, high-volume commercial kitchens should perform calibration daily. This ensures that any drift is caught before it impacts a single service. Consistent data collection is the backbone of a successful audit, and knowing how to calibrate a food thermometer is a skill that every member of your line staff must possess.
Accuracy isn't a permanent state. Environmental factors, battery health, and physical handling all conspire to degrade sensor precision. Maintaining these records manually is often where systems break down. You can simplify this entire process and ensure no check is missed by using a temperature monitoring system that tracks your equipment health in real-time.
When is 'Regular' Not Enough?
Routine schedules provide a safety net, but certain events demand an immediate, unscheduled verification. If a staff member drops a thermometer on a hard kitchen floor, the physical shock can misalign the internal components of a dial thermometer or damage the delicate sensors in a digital probe. You must verify accuracy immediately after any drop. Similarly, moving a thermometer between extreme temperature environments, such as taking a reading in a walk-in freezer and then immediately checking a hot-holding unit, can cause temporary sensor lag. Finally, never trust a new thermometer straight out of the box. Verify its accuracy against a known standard before its first shift to ensure it meets the required ± 1°F threshold.
Troubleshooting Inconsistent Readings
When a thermometer begins to provide erratic data, don't immediately assume it's broken. Check the battery levels first. Low voltage is the primary cause of digital drift and display flickering in modern probes. If the battery is fresh and readings remain inconsistent, inspect the probe for physical damage. Bends, cracks, or discoloration in the metal can interfere with heat conduction and sensor accuracy. Use the '3-degree rule' for equipment retirement: if a thermometer requires an adjustment of more than 3°F (or 2°C) during calibration, it has likely reached the end of its functional life. Sensors that drift this far are often unstable and will likely fail again shortly after adjustment. Proper storage in a dedicated protective sheath or a temperature-controlled drawer will help maintain sensor sensitivity and extend the lifespan of your professional tools.
Modernizing Your Compliance: From Paper Logs to Digital Checklists
Traditional paper logs are a liability in a modern kitchen. They're easily damaged by spills, frequently illegible, and prone to "dry labbing," where data is entered retrospectively rather than during the actual check. Relying on clipboards creates a fragmented safety culture where verification feels like an afterthought. Transitioning to a digital framework ensures that your calibration data is accurate, time-stamped, and instantly accessible during a surprise inspection.
Knowing how to calibrate a food thermometer is only the first step toward safety. The second is integrating that knowledge into a verifiable workflow. By using digital food safety checklists, you transform a technical requirement into a seamless part of your team's daily routine. This shift provides the real-time proof necessary to demonstrate total oversight to regulatory bodies.
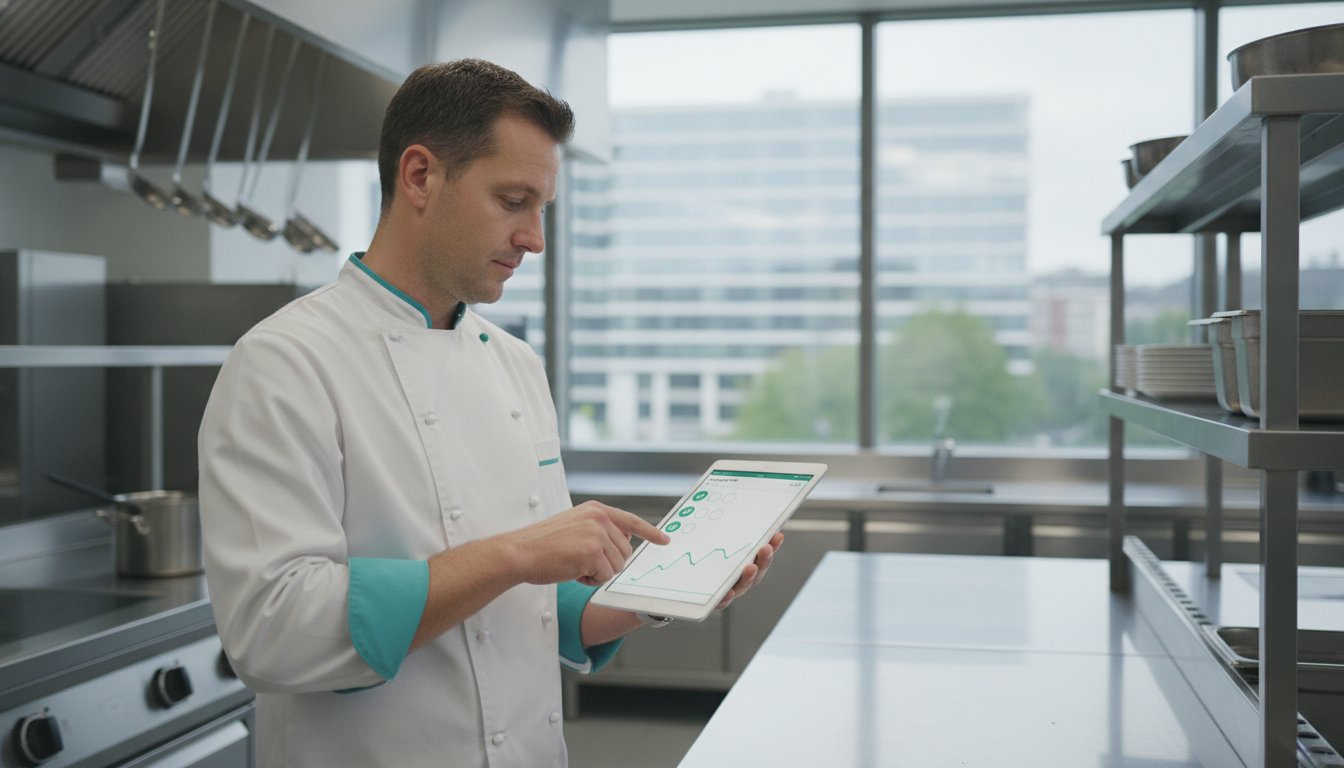
The Power of Automated Reminders
One of the greatest challenges in a high-volume kitchen is consistency. It's easy for staff to overlook equipment verification when a rush begins. Digital systems solve this by sending scheduled smartphone alerts directly to the responsible team members. These prompts ensure that no one forgets the morning ice-point check or the post-drop verification. Standardized digital forms also reduce human error by requiring specific data points before a task can be marked as complete. This level of accountability links specific thermometers to individual staff members, creating a transparent record of who performed the calibration and when it occurred. It's a disciplined approach that builds a culture of proactive vigilance.
SafeBite: Streamlining Your National Compliance
SafeBite provides the tools necessary to move toward a truly paperless kitchen. Our automated temperature monitoring system reduces manual labor by constantly tracking ambient conditions, while our Digital HACCP Checklists guide your staff through the specifics of how to calibrate a food thermometer. This integration ensures that your equipment verification is never a standalone task but part of a comprehensive safety strategy.
When an auditor arrives, you don't need to scramble for missing folders. SafeBite allows you to generate instant reports that align perfectly with the Luxembourg food safety authority guidelines. This level of readiness instills confidence in inspectors and demonstrates that your business is a leader in food safety innovation. By automating the tedious aspects of compliance, you give your team the freedom to focus on what they do best: delivering exceptional food with absolute precision.
Precision as a Standard for the Modern Kitchen
Maintaining precise equipment is the foundation of a resilient food safety culture. By mastering how to calibrate a food thermometer through the ice point or boiling point methods, you ensure your Critical Control Points remain valid and your customers stay protected. These technical checks are no longer just manual tasks; they are essential verification steps that define your operational excellence.
Transitioning from fragmented paper logs to a centralized digital system is the most effective way to maintain this standard. SafeBite is designed specifically for the Luxembourg hospitality industry, offering a comprehensive platform that replaces manual entries with automated digital checklists. Our system provides real-time monitoring to ensure your kitchen stays compliant with national regulations without the stress of traditional record-keeping.
Upgrade your kitchen to digital HACCP with SafeBite to gain total control over your safety protocols. With the right tools and a disciplined approach to calibration, you can lead your team with confidence and focus on delivering exceptional culinary experiences.
Frequently Asked Questions
How often should a food thermometer be calibrated in a professional kitchen?
Professional kitchens should calibrate thermometers daily or at the start of every shift to maintain peak accuracy. This routine verification is essential for high-volume environments where equipment is used constantly. You should also perform an immediate check if the device is dropped or moved between extreme temperature ranges, such as going from a freezer to a hot line.
Can all types of food thermometers be calibrated?
Most professional thermometers are designed for calibration, but some basic models may lack a manual adjustment feature. While you can't always reset these devices, you must still verify their accuracy using the ice point method. If a non-adjustable thermometer is off by more than 1°C, it's no longer reliable and should be retired from service immediately to prevent safety risks.
What is the most accurate method for thermometer calibration?
The ice point method is the most accurate way to learn how to calibrate a food thermometer because it relies on a fixed physical constant. Unlike boiling water, which changes temperature based on your kitchen's altitude, a properly made ice slurry will always stay at exactly 0°C. This stability makes it the gold standard for verifying precision in any professional setting.
What should I do if my thermometer won't adjust to the correct temperature?
If your thermometer fails to reach the correct reading after multiple adjustment attempts, you must replace the unit. Continuing to use a device that drifts beyond the required ± 1°F threshold compromises your food safety and HACCP compliance. Investing in a new, reliable probe is always more cost-effective than risking a failed health inspection or a preventable foodborne illness outbreak.
Is it necessary to calibrate a brand-new thermometer?
Yes, it's necessary to calibrate every brand-new thermometer before its first use in your kitchen. Factory settings can shift during shipping or storage due to physical vibrations and temperature fluctuations. Verifying accuracy on day one ensures that your baseline data is trustworthy. It also establishes a disciplined habit of equipment verification for your entire culinary team.
How do I record thermometer calibration for a HACCP audit?
Every calibration event must be documented with the date, time, thermometer ID, and the specific results of the test. You should also record any corrective actions taken if the device required adjustment. Switching to digital HACCP checklists allows you to automate these records, creating a time-stamped audit trail that's instantly accessible for inspectors during a national audit.
Can I use boiling water to calibrate a digital thermometer?
You can use boiling water to calibrate a digital thermometer, provided the device is rated for high temperatures. Be careful to only submerge the probe tip and avoid exposing the digital display or electronics to steam. It's also important to let the probe air-cool before cleaning it. This prevents thermal shock, which can damage the sensitive internal sensors.
What are the legal requirements for thermometer calibration in Luxembourg?
Luxembourg food businesses must comply with national hygiene regulations that mandate the use of calibrated equipment under a functional HACCP plan. The local authorities require that all temperature measuring devices are accurate and that verification records are maintained for inspection. Using a digital system helps you stay aligned with these requirements by providing clear, organized proof of compliance during official audits.